 Nask AI
Key takeaways
- The connection is made once, on the brand: Brands, the brand, the Growth tab, then the Client business tab.
- Four picks decide what the publisher shows in its top bar: the ad account, the Facebook Page, the Instagram account and the pixel.
- Every uploaded ad gets Headline, Primary text and Description fields, and the whole deck shares one Website URL that falls back to the brand’s default.
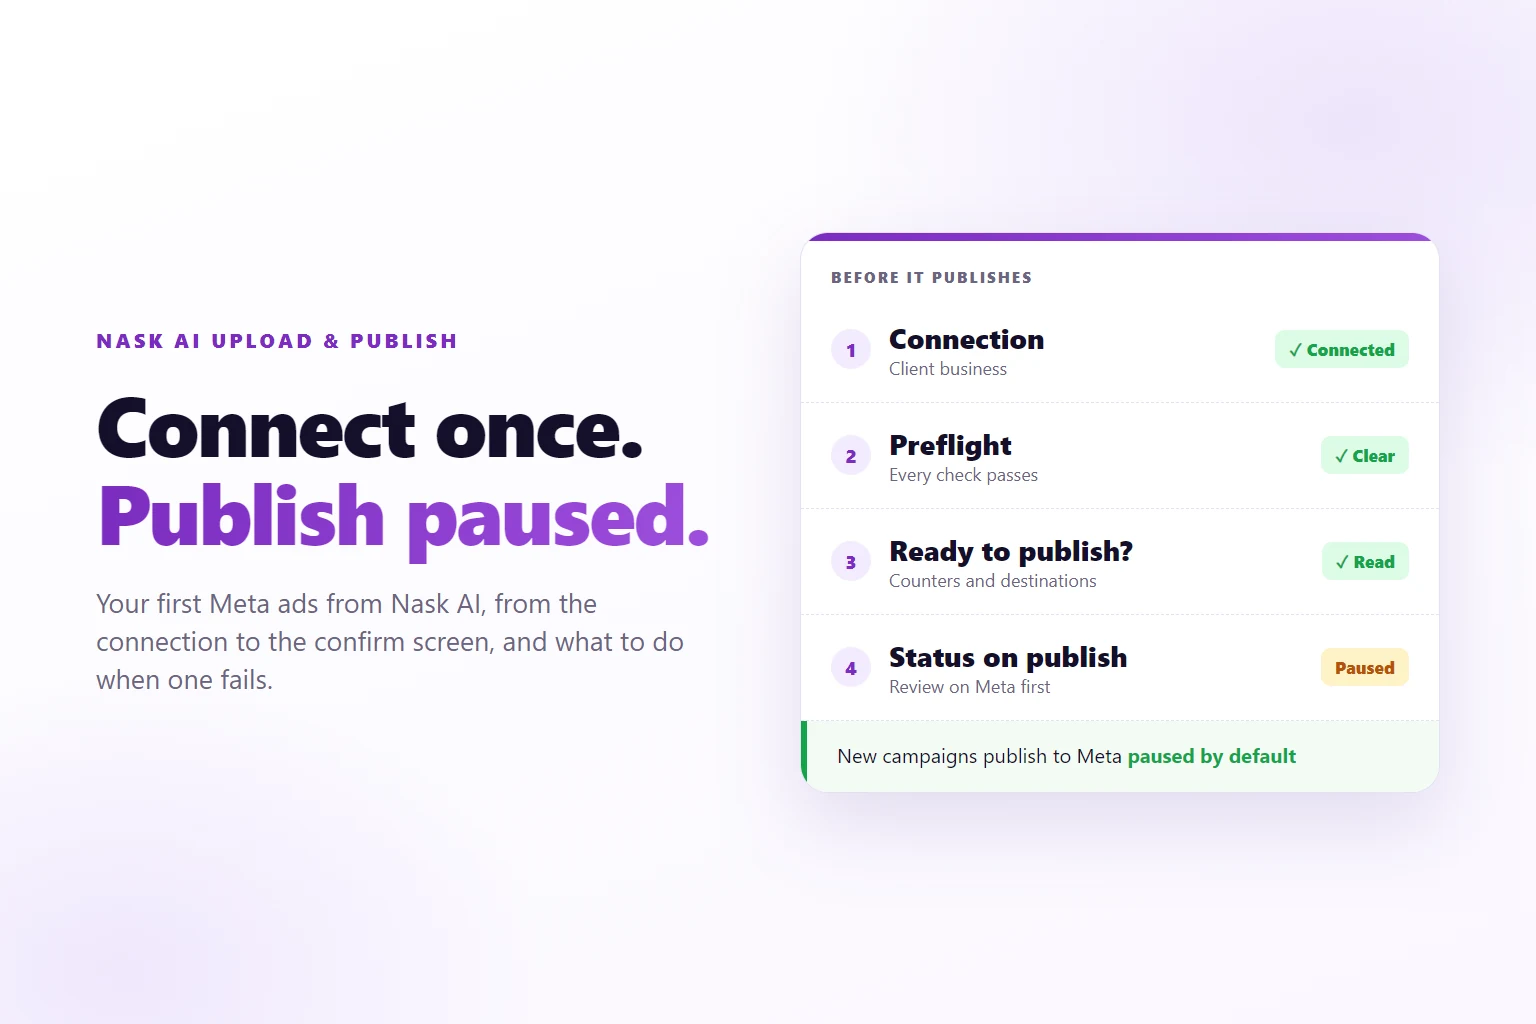
- Three locks sit between you and Meta: a start choice with a structure, a Preflight count, and the Ready to publish? screen.
- New campaigns publish to Meta paused by default, and a rejected ad is replaced with a new one, not edited.
Publishing Meta ads with Nask AI Upload & Publish means connecting a brand’s Meta assets once, dropping in finished ads, filling their copy and destination, and sending them through one publisher that checks the setup first and creates the ads in your ad account.
You have a Meta ad account, a Facebook Page, and a folder with one or two finished ads. Nothing is connected yet. The first publish is the one where it is unclear what will happen: whether anything will start spending, where the link will point, and what to do if Meta pushes back.
This guide walks the whole path in the order Nask AI asks for it. You connect Meta, choose the assets, set the destination once, upload and fill in the ads, pass the checks, publish, and then deal with whatever comes back.
What you are building
Four things, each on its own screen.
- A connection between the brand and its Meta assets. It lives on the brand’s page, not in the publisher.
- A deck, which is Nask AI’s word for the ads you have staged on the Upload & Publish page, with their copy and one Website URL.
- A publish: one trip through the publisher, with a start choice, a structure, a settings check and a confirm screen.
- A repair path, for the day Preflight stops you, a publish fails or Meta rejects an ad.
A brand in Nask AI is one business’s ads workspace: its Meta connection, default link, tracking and ads. Everything below runs against the brand selected in the header. With none selected, the Upload & Publish page says “Pick a brand first”.
Why not build the first ad in Ads Manager?
You can. Ads Manager is Meta’s own tool, and it asks for the campaign, the ad set and the ad one form at a time. That is fine for a single ad.
The cost shows up on the second ad: the Page, pixel, link and URL tags get checked again each time. Nask AI keeps them on the brand and shows them back to you before anything is created. The guide to bulk uploading Facebook ads from a brief or a folder covers larger batches, and the guide to how many ads an ad set needs covers the count.
Step 1: Connect Meta to the brand
In Nask AI, open Brands in the sidebar, pick the brand, and open the Growth tab. The first column has two tabs: Client business and Legacy.
Use Client business for a new brand. The card is titled Client business connection, and its intro explains the idea: the access belongs to the client’s own business, never expires and does not depend on anyone’s password. Legacy is the older route, your personal Facebook login shared by every brand on it, and its own note says it expires every 60 days. A brand already connected that way opens on Legacy.
Three buttons sit under the intro:
- Connect now: “You are an admin of the client’s business: pick it in the Facebook window.” If you run your own ads, this is the button.
- Copy link: a link the client opens, no Nask AI account needed. It works once, for 7 days.
- Send email: Nask AI emails the client that link with your message. Fill in the Client email and the prefilled Message, then press Send.
The page your client opens carries a “Before you start” checklist, worth repeating in your message: keep every permission ticked or the connection fails, set a payment method on the ad account or the ads cannot run, link Instagram to the Page, and accept Facebook’s audience terms if asked. Its button reads Connect with Facebook.
When a client connects through a link, the card shows their business with a badge that reads Needs your confirmation. Check it is the right business, then press Confirm, or Not this one. Connected is the working state, with the grant listed under Ad accounts, Pages, Instagram and Pixels. Check now re-reads it and Disconnect ends it.
Step 2: Pick the ad account, Page, Instagram account and pixel
A grant can include several ad accounts or Pages. Under a connected card, Nask AI asks: “Pick the ad account, Page, Instagram account and pixel this brand uses:”. A second card, Meta Ads Integration, holds the pickers.
- Ad Accounts: a ticked list grouped by business, with a status dot and the currency on each row. With more than one ticked, a Publish new campaigns to list appears and you choose one.
- Facebook Page: a searchable select that starts on “Select a page…”.
- Instagram Account: the same, starting on “Select Instagram account…”.
- Meta Pixel: starts on “Select a pixel…”. It appears when the grant includes a pixel.
These picks come back in the publisher’s top bar: the ad account name with its currency, then Page, IG and Pixel, each with a tick or a warning. If one reads a dash, return to this card.
Whether your own pages report the steps after the click is a separate setup, covered in the Nask AI pixel setup guide. The list of stages that setup counts is designed in Nask AI funnel stages.
Step 3: Set the landing URL and UTM tags once
Still on the Growth tab, the second column has a card called Tracking & Destinations with two brand-wide defaults:
- Default Landing URL: where an ad sends people when you do not say otherwise.
- UTM Parameters: tags added to that link. UTM parameters are labels on a URL that tell your analytics where a visit came from. Google’s documentation says to use utm_source, utm_medium and utm_campaign together.
The field’s placeholder is a working starting point:
utm_source=facebook&utm_medium=paid&utm_campaign={{campaign.name}}&utm_content={{ad.id}}The double-brace parts are Meta macros that Meta fills in per ad. The card notes that utm_content={{ad.id}} is added automatically at publish, which powers per-ad insights, unless you set utm_content yourself. Press Save Changes at the top of the brand page. What to do with those tags downstream is the subject of the guide to tracking leads from Facebook ads to sales.
Step 4: Drop your finished ads on Upload & Publish
Open Upload & Publish in the sidebar. The dropzone’s line starts “Drop our finished ads here, or click to choose”. Images are accepted, and so are videos as MP4 or MOV, H.264, up to 2 GB. Each file becomes one ad, except that files sharing a base name group into one ad, one ratio per file, so offer-1x1.png, offer-9x16.png and offer-1.91x1.png become one ad. A ratio is the shape of a picture, such as square, vertical or landscape.
Each ad appears as a card with a preview and three ratio slots, for Feed, Stories and the Right column. With only one shape you have three choices:
- Let Meta adapt the single ratio: a button on the card. The card warns that Meta crops or stretches the file and that it usually looks rough on Stories and the Right column.
- Crop: buttons on the card that cut the missing ratios from your file in your browser, at no credit cost.
- Generate variants: re-composes the picture at the new shape and costs credits, the unit Nask AI uses to meter AI generation. The button shows its amount first.
The deck saves itself: close the tab, and the next visit shows an Unfinished upload banner with Restore and Discard. The files are kept for 24 hours.
Step 5: Fill the copy and the Website URL
Under every card sit three fields: Headline (optional), Primary text (optional) and Description (optional). The primary text is the body of the ad, shown above the picture. The headline is the bold line below it. The description is the smaller line beside the headline, and where it shows depends on the placement. A filled card might read: Headline “Free Meta ads audit”, Primary text “We review your ad account and send a short list of fixes.” and Description “Book your audit”.
Two actions can fill the fields for you, and both cost credits: Import copy, which matches a Word, PDF or text document to your image ads (confident matches fill empty fields on their own, and the rest appear as suggestions with a check mark to apply and an X to skip), and Write my copy, a toggle that has Nask AI write a headline and primary text per ad from the brand’s docs.
Above the cards is the Website URL field, with the placeholder “Brand default (https://…)”. Type the page this deck sends people to. Leave it blank and the ads use the Default Landing URL from Step 3, which the confirm screen labels as the brand default.
Press Continue to Publish. The button stays off until there is an ad and nothing is still uploading.
Step 6: Open the publisher and pick a start
The publisher is the same one Studio uses. Its first question is How do you want to start? The answers are Customize from scratch or a pre-built template.
For lead generation, look at Leads · Single Image · ABO and Leads · Single Image · CBO. Both set the objective to Leads and optimize for the Lead event. ABO is an ad set budget: each ad set carries its own daily budget. CBO is a campaign budget: one budget that Meta spreads across the ad sets. Click a template to preview it, then apply it. Applying a template resets Status on publish to Paused, and it sets the structure too.
Customize from scratch asks for the Campaign structure: Combine all, Group → ad set or Group → campaign. For one ad or one group, the first two both end in one campaign with one ad set. Once chosen, the answers collapse into Start and Structure chips in the top bar. Until both exist, Publish is grey, with the tooltip “Pick a starting point and structure first”.
Step 7: Read the editor and pass Preflight
Below the chips is the editor in three layers: Campaign, Ad set and Ad. For a first publish, read these fields rather than skim them.
- Campaign: the Objective, the Special ad category (None, Credit, Employment, Housing or Social Issues; pick one if the ads fall in it), the Budget mode and amount in the account’s currency, and Status on publish.
- Ad set: under Conversion & goal, the Conversion location, Performance goal, Pixel / dataset and Conversion event. Under Audience, the Countries. Placements default to Advantage+ placements.
- Ad: the copy again, the Website URL, Display link, Call-to-action and UTM parameters / URL tags. The UTM field starts from the brand’s UTM Parameters, and the Website URL from your deck’s field or the brand default.
In the top bar, a chip reads Preflight: N/M, or “Preflight: pending” before the start and structure are chosen. Click it to open the checklist. The checks include: Meta token valid, Meta token freshness, Ad account active, Facebook page reachable, Instagram account, Pixel in account, Landing URL coverage, Approved copies have images and Image URLs reachable. Five more apply to saved locations, existing campaigns or ad sets, and Advantage+ keys. A red count blocks Publish, with the tooltip “Resolve preflight errors before publishing”. An amber count warns and lets you through. If the ad account is restricted or disabled, a banner above the controls names it.
Step 8: Read the confirm screen and publish
Press Publish and a screen titled Ready to publish? opens. It changes nothing on Meta until you confirm, and Back to edit returns you to the editor.
Four counters show what will be created: Campaigns, Ad sets, Ads and Creatives. A Configuration card repeats the Ad account, Objective, Structure, Page, Instagram, Pixel, Status on publish and Budget mode, and a Spend card turns the budget into a total. A destinations card lists, per ad set, the countries, conversion event, Website URL and tags. It flags in amber a URL marked “(brand default)” and a missing tag, which reads “No UTM tags: leads will arrive untracked”. Fix either with Back to edit.
One switch here is Standard enhancements (text optimizations). It is off by default. On, it lets Meta rewrite the primary text, headline and call to action per person for every ad in this publish. If you edit copy at Publish, a second tick, I checked the edited copy, also gates Confirm. Then press Confirm and publish to Meta.
What happens after you publish
The editor shows “Publishing to Meta…” with progress bars. When it finishes, a summary card reads “1 ad is on Meta” (or the count) with a chip: Paused, waiting for your review for a paused publish, Live and delivering for an Active one. The card has an Open on Meta button, and one to reopen the editor.
New campaigns publish to Meta paused by default, so nothing spends until something is switched on. If you choose Active under Status on publish, the confirm screen adds a tick that reads “Publish N ads LIVE, spending from today”.
To switch a paused publish on, open Live Ads in the sidebar. The default view, Active or spent, 7 days, hides paused ads, so change Show to Paused only or Everything. Each campaign, ad set and ad has its own switch, and a row reads “campaign paused” or “adset paused” while a parent is off, so work from the top down. Switching on asks for one inline confirm, Turn on, and only an owner or admin can do it. Studio’s Publish step also has a Launch button and a read-back table; Upload & Publish does not show them.
What to do when a publish or an ad fails
Before publishing, Preflight names the problem. A connection row is fixed back on the Growth tab, a missing pixel or Page is fixed in the Step 2 pickers, and Landing URL coverage by giving every ad a Website URL. An expired token is fixed by reconnecting, which is what the Legacy tab’s 60 days is about.
During publishing, the header can change to Publish failed, Published with issues or Publishing stalled, which appears after 10 minutes without progress. A plain-language card names the cause and a fix link, such as “Reconnect Meta”, and a folded Raw error from Meta shows Meta’s own wording. The buttons depend on the state: Create the missing ads after a partial publish, Resume, Retry from scratch and Reset to draft. Anything already created on Meta stays on Meta, so look at the account before you retry from scratch.
After publishing, Meta reviews each ad and decides. Meta makes that call, not Nask AI, so nothing here can promise approval. In Live Ads, a red Rejected badge marks an ad Meta turned down, Issues marks one with problems, and Meta’s own reasons print under the row.
Live Ads can rename, change budgets, bids and schedules, switch status, duplicate an ad paused, move it and archive it. It has no field for an ad’s image or text. So the fix for a rejected ad is a corrected ad: reopen Upload & Publish, replace the creative or change the copy, and in the Campaign section use the Use existing campaign picker so the new ad lands in the same campaign. The confirm screen should say “Adding ads to” and name the campaign. Then archive the rejected ad in Live Ads.
When not to do this
If nobody can finish the Facebook window, the connection cannot finish, and no setting in the publisher works around it. Connect now needs you to be an admin of the business, and the link route needs the client to keep every permission ticked.
Frequently Asked Questions
Where do I connect Meta in Nask AI?
Open Brands in the sidebar, pick the brand, and open the Growth tab. The first column has two tabs, Client business and Legacy. Use Client business for a new brand: press Connect now if you are an admin of the business, or Copy link or Send email to hand the connection to the client.
Do my uploaded ads start spending right away?
No, not unless you choose it. New campaigns Nask AI creates publish to Meta paused by default. If you pick Active under Status on publish, the confirm screen adds a tick that reads Publish N ads LIVE, spending from today, and the Confirm and publish to Meta button stays off until you tick it.
Can I edit a live ad’s image or text in Live Ads?
No. Live Ads changes a name, a budget, a bid, a schedule or a status, and it can duplicate an ad paused, move it or archive it. A new image or new copy goes in as a new ad through Upload & Publish, into the same campaign, and you archive the old one in Live Ads.
Does Upload & Publish use credits?
Not on the basic path. The page says your finished ads publish exactly as uploaded, with no image credits unless you generate variants. Credits are the unit Nask AI uses to meter AI generation. Import copy and Write my copy are the other two actions that cost credits, and each button shows its amount before you press it.
What do I do when the Preflight chip is red?
Click the chip. It lists the checks and names the failing one with a message. Publish stays grey until the blocking checks pass. Rows tied to the connection, such as Meta token valid, Facebook page reachable, Instagram account and Pixel in account, are fixed on the brand’s Growth tab, and Landing URL coverage is fixed by giving every ad a Website URL.
Publish your first Meta ads in Nask AI
The first publish is mostly setup that you do once: the connection, the four assets and the brand’s link. After that, an upload is a drop, some copy and three checks. Book a demo and watch a first publish go from files to a paused campaign.
Nask AI connects the brand’s Meta assets, takes your finished ads, checks the setup and publishes them to Meta paused by default. You review every setting before it ships. Book a demo and watch a first publish from connection to confirm screen.
Book a demo