 Nask AI

Key takeaways
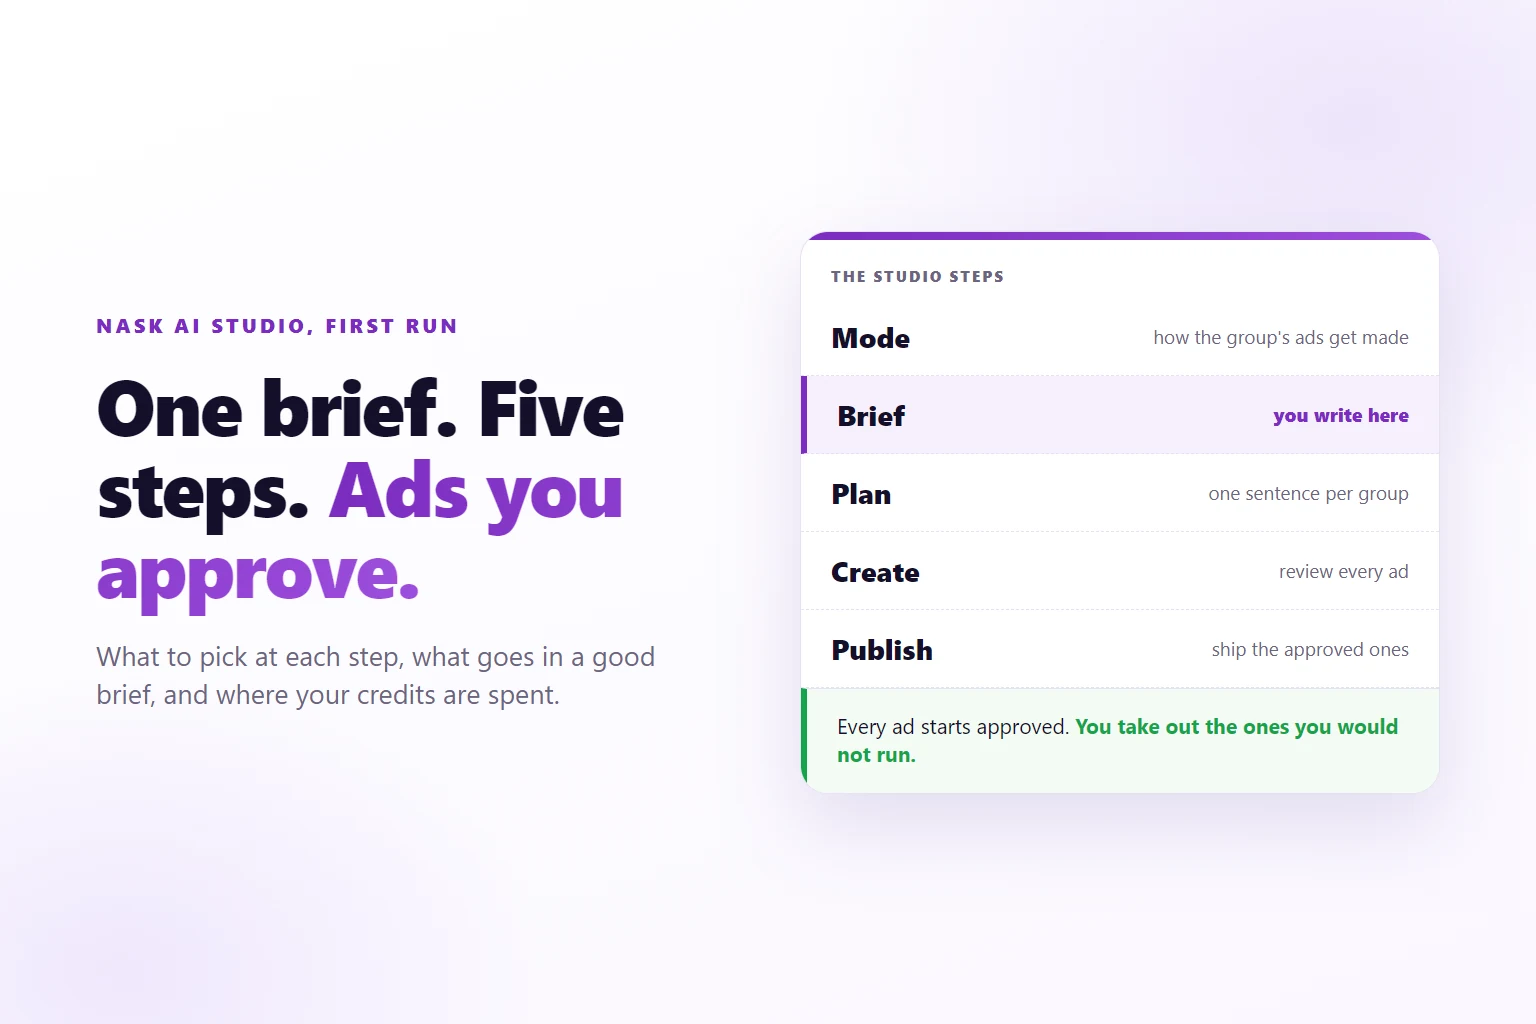
- Studio has five steps: Mode, Brief, Plan, Create and Publish. You write in the Brief and steer in the Plan, and every ad starts approved until Compliance Review or you say otherwise.
- The mode comes first because it decides which sections the Brief shows. Lead-Gen Engine asks for copy, visual direction, brand assets and brand docs. Raw-Refined Engine asks for one brief.
- Smart Copy writes from your brand docs. The Adapt to compliance rules switch needs a Copy Compliance or Image Compliance document before it turns on.
- In Lead-Gen, each group is one sentence in the Plan. Change the count, the audience, the awareness stage or the angle and every ad in the group follows.
- Generate shows an estimate in credits and asks for a second click. Regenerate rejected and Feedback and Rerun each spend credits too, with their own estimate.
A Nask AI Studio brief is the set of answers you give before any ad exists: which mode makes the ads, where the copy comes from, the visual direction, and which brand documents Nask AI reads. The Plan step then turns that brief into one sentence per ad group.
You open Nask AI Studio for the first time. The offer is in your head, and the screen shows five steps across the top. Nothing says which of them you write in and which only ask you to click. You write in one. The rest are choices with a default. This guide walks the steps in order with the exact labels you will see: what belongs in a good brief, how to read the Plan sentence, how to review the ads that come back, and where your credits go. A credit is the unit your workspace spends when Nask AI makes an AI call for you. The app never shows a dollar figure.
What you are building
A first run of ads, from one brief, that you approved yourself. Three terms first, because the screens use them without stopping.
- A brand is the business profile the ads belong to: its documents and assets.
- An ad group is a set of ads that share one brief and one sentence in the Plan. Each group has its own mode, brief and count.
- A run is one press of Generate: every group in the Plan, planned, written, drawn and reviewed.
The goal of a first run is a brief you can reuse. How many ads to make, and how different they should be, is answered in how many ads per ad set on Meta. This page covers the mechanics.
Step 1: Pick a mode
Mode asks “How should this group’s ads get made?” and adds “This decides what the brief asks you for.” That is why it comes first: the mode decides which sections the Brief shows.
Three tiles sit up front:
- Raw-Refined Engine, badged Recommended. It fine-polishes your brief into ads.
- Lead-Gen Engine. “The full Nask AI pipeline: angles, styles, formats & brand assets.”
- Upload Your Own Ads. Your finished creatives, published exactly as uploaded, with no image credits.
A “More engines” button opens the rest, several with a Beta badge. A first run needs none.
Clicking a tile picks the mode and moves you to the Brief at once. An optional field, “Group 1 name (optional)”, names the group for publishing. Mode belongs to the group, not the run, so one run can hold an uploaded group next to a generated one.
This tutorial follows Lead-Gen Engine, because it shows every section a brief can have. Raw-Refined Engine collapses the Brief to one box, “Your Brief”, plus the brand docs.
Step 2: Choose a copy direction
The Brief step stacks its sections in order, and each one opens after the one before it. Under Lead-Gen Engine the order is Copy Direction, Visual Direction, then Brand Assets and Brand Docs together. A locked section tells you what it waits for, for example “Unlocks once you pick a Copy Direction”.
Copy Direction is subtitled “where the words come from”. It has three tiles, and none of them reads as chosen until you click one. When the line on the image is the whole ad, the engine to pick is the one covered in Direct Response ads, copy first.
- Write Your Own: “Describe the offer yourself.”
- Use a Winner’s Copy: “Borrow a proven ad.”
- Smart Copy: “Nask AI writes from your brand docs.”
Smart Copy needs nothing from you: it collapses the section and opens Visual Direction. It does need brand documents to exist. If the brand has none, the Continue button stays off and its hint says to generate them first or write a brief instead.
Use a Winner’s Copy opens a picker of your winning ads and drops the chosen copy into a box as a reference you can edit.
Write Your Own opens a box with a prompt inside it: “Describe the offer, the audience, and what a win looks like.” That sentence is the checklist for a good brief. Write all three.
- The offer. What the person gets for responding. If your business sells a call, the offer is the call and what happens on it.
- The audience. Who the ad is for, as a person: their role, their situation and the problem that sent them looking.
- What a win looks like. The outcome you judge the ads by. For a business that sells calls, that is a booked call, not a click, and tracking which ad produced it makes it measurable.
Write only what is true: an ad can carry a claim only if your brief gave it one.
The More button
Under the tiles sits a small button called “More”. It opens three rows of chips. Each row starts with “Mix it”, which rotates across every option in the row. Pick one or several chips instead and the ads rotate across only those. The button is hidden once Smart Copy is committed.
- Headline format: Question, Number, Command, Bold claim, Curiosity, Call-out. The headline is the short bold line under the image, held to 2 to 4 words and 25 characters.
- Primary text: Punchy short, Identity trigger, PAS, Story novella, Founder letter, Listicle, Proof stack, Q&A hook. Primary text is the main body above the creative. PAS means problem, agitate, solution.
- Description format: Proof point, Benefit, Urgency, Objection kill, Social proof, Direct CTA. The description is the small line under the headline, held to 30 characters.
These rows set the structure of the writing, never its content: choosing Question does not tell Nask AI what to ask. The brief does that. For a first run, leave all three on Mix it.
Step 3: Set the visual direction, brand docs and compliance
Visual Direction is subtitled “the style pack & colors”. Its Visual Styles row has four tiles: “Select styles”, “Use your own”, “Use winner’s image” and “Smart image”. A style pack is a saved look: layout, type and mood. A Colors picker sits below. The “Done” button stays off until you pick a pack, and its hint says “Pick a style pack first”.
Done opens the last two sections. Brand Assets holds your product, people and icons. Brand Docs is subtitled “which docs Nask AI reads”.
Pick the brand docs
Brand Docs lists the brand’s documents with a checkbox each: Persona, Strategy, Offer, Audiences, Visual Identity and Creative Angles, plus Competitive Landscape and Evidence when the brand has them. Hover a name for a preview. Tick the ones Nask AI should read for this group. A run freezes the text of the docs you ticked when you generate it, so editing a document later does not change a run that already started.
If the list says “No brand documents yet. Generate them on the brand page.”, do that first. Generating documents uses credits.
The compliance switch
At the top of Brand Docs sits a switch called Adapt to compliance rules. Its line reads “Rewrite copy & images to your rules before generating. Every ad is reviewed either way.”
It stays off and greyed out until the brand has a compliance document: a Copy Compliance document (words and phrases to never use in text) or an Image Compliance document (visual elements to never include in images). Add either on the brand page.
Two things are easy to miss. It is saved on the brand, not on the run, so it stays as you left it for the next run. And it changes what gets generated, not whether a review happens: Compliance Review runs on every ad Nask AI generates, switch on or off. The switch decides whether copy and images are rewritten to your rules first, and a rewritten ad carries an “Adjusted” tag in Create. Nask AI is policy-aware here, not a certifier, and Meta decides what runs on its platform.
Step 4: Read the Plan sentence
Plan turns the brief into a number of ads. The header shows the total, for example 3 ads across 1 group. Each group is one sentence. This is the Lead-Gen Engine’s Plan sentence, and a Raw-Refined group’s sentence is only the count and the engine name. A new Lead-Gen group starts with all three core chips on Surprise:
Make 3 ads for Surprise who are Surprise, leading with Surprise
Read it left to right. “Make 3 ads” is the count. “for” is followed by the audience. “who are” is followed by the awareness stage, how much the person already knows. “leading with” is followed by the angle, the reason to act.
The count is a number you type. The audience, awareness and angle are chips with three states.
- Pick: you choose a value from your library (the saved audiences, awareness stages and angles, which you can add to from the menu), for example an audience called Owner of a small firm.
- Surprise: Nask AI picks a real value from your library. The Variety setting below decides how often it re-rolls.
- Empty: the field is left unguided and the AI chooses freely. The chip reads “everyone”, “any awareness” or “any angle”.
The sentence carries on with “styled as” and the style pack, “colors” and the color choice, then “drawn by” (Fast or Quality) and “quality”. Those set the look, not who the ad speaks to.
For a first sentence, pick the audience if it is one kind of buyer, because a Surprise audience gives you ads for people you did not mean. Leave the angle on Surprise, because ads that all lead with the same angle are one ad repeated. With Write Your Own and no brand docs ticked, Surprise chips behave as Empty: your brief is the only context.
Under the groups, “Add a group: same brief as group 1” copies the brief, chips and count into a new group, and “New brief” writes a fresh one. Two groups with one angle each test two angles.
The gear in the corner opens “Generation settings”, where Variety sets how Surprise fields vary across a group’s ads: “Smart: surprised fields random per ad, picks stay fixed”, “Per ad: re-roll every field per ad” or “Per group: one roll shared across the group”. Why variety matters is the subject of the ads per ad set guide.
When the sentence reads right, click Generate. It does not start at once. The same button turns into “Confirm · ≈N credits”, with a second figure for placements when the run will make extra formats. Click again to start.
Step 5: Review the ads in Create
Create is both the progress screen and the review screen. A bar shows how many ads are planned and rendered, and a Stop button cancels the rest of a live run while keeping the images already rendered. Each finished ad becomes a card with a pill in its top left corner. The pill has three states.
- Approved: the ad will be published.
- Needs edit: parked. It stays out of publishing until you approve it. Fix the copy in the review panel, then approve.
- Rejected: out of publishing.
The part that surprises people: every ad starts Approved. Take out the ones you would not run.
Compliance Review does the first pass. It can reject an ad before you see it: the card shows a “Flagged” pill with the reviewer’s reason, and clicking it approves the ad anyway if you disagree. An ad the reviewer could not judge is held as “Needs review” until you look at it. Your own uploads are not reviewed, and their pill reads “Your file”.
Click a card to open it large. The panel has Approve, Needs edit and Reject buttons. On the keyboard, W approves, E marks Needs edit, S rejects, and A and D move between ads.
Rejecting asks a question: “Why reject it? Pick at least one, or write a note.” You cannot reject without answering. The first row says where it failed: Image, On-image copy, Primary text, Headline or Description. The second row says why: Offer we do not have, Template showing, Compliance, Broken or garbled, Wrong audience, Off brief, Off brand, or Weak or boring. The picks are recorded for your review and do not rewrite the next prompt.
Read each ad against the brief you wrote. The panel shows the run’s brief and whether Compliance Review was on.
Step 6: Regenerate what you rejected, or rerun with feedback
Two buttons sit under the run, and they do different jobs.
Regenerate rejected (N) re-renders only the rejected image ads and leaves approved ads alone. It skips videos, uploaded creatives, and ads rejected only for headline, primary text or description, because a new image would not fix those: edit their copy instead. Two clicks, and the second reads “Confirm · ≈N cr”, where cr is credits.
Feedback and Rerun opens a note box right under the finished run. Write what should change, and “Rerun with feedback” starts a new campaign with the same brief, packs, colors and uploaded image. Your note goes to the planner as revision notes, applied to copy and imagery. You land on Plan and click Generate again, which confirms the spend again.
Use Regenerate rejected when a few images are wrong, and Feedback and Rerun when the whole direction needs a push. If the brief was wrong, go back and fix it.
Where your credits are spent
Credits are spent when Nask AI makes an AI call for you, and the app shows the estimate before it happens. These are the places, in the order a run meets them.
- Brand docs. Generating the set, regenerating one document, or adding Evidence uses credits. The combined Master Document does not, because it only joins the others.
- The plan. Nask AI plans each group before it writes, and the charge grows with the number of ads.
- The copy. Every ad’s headline, primary text and description come from an AI call. Lead-Gen Engine writes copy in several checked steps, so it costs more per ad than the Raw-Refined Engine.
- The images. Each ad is drawn once. The “drawn by” chip sets the engine: Fast, or Quality, which is quoted higher. Upload Your Own Ads has no image credits.
- Compliance Review. It runs on every ad Nask AI generates, with the switch on or off, and each review is a charge. Uploads are not reviewed, so they do not pay it.
- Placements. An image ad needs all of its formats, 1:1, 1.91:1 and 9:16, before it can be published. The “Complete placements” button makes the missing ones, with its own two-click “Confirm · ≈N cr”. When nothing is charged it reads “Confirm · no credits”.
- Regenerate rejected and Feedback and Rerun. Each is a new spend with a new estimate.
The estimates are built to run on the high side rather than under, so treat them as a close guide, not a cap. The charge is metered per AI call, including calls whose output later fails a check.
What comes next: Publish
The Publish step takes the ads you approved and hands them to the publisher, which shows every Meta setting before anything is sent. New campaigns Nask AI creates publish to Meta paused by default. The publisher’s settings, checks and confirm screen are walked through in the guide to publishing Meta ads with Nask AI Upload & Publish.
When not to do this
Skip or shorten the flow when:
- The ads already exist. Pick Upload Your Own Ads, or use Upload & Publish directly. There is nothing to brief.
- You have no offer yet. A brief cannot invent one.
- The brand has no documents and you need ads today. Write Your Own works without them. Generate the documents afterward.
- You are testing a single question. One offer against another is two groups with everything else the same.
The first brief is the slow one. The second reuses it.
Frequently Asked Questions
Which mode should I pick for my first ads?
Pick Raw-Refined Engine if you want to write one brief and get ads back; it carries the Recommended badge. Pick Lead-Gen Engine when you want every choice laid out: copy direction, visual direction, brand assets and brand docs. Pick Upload Your Own Ads when the creatives already exist. The mode belongs to a group, so one run can mix them.
Do I need brand docs before I write a brief?
Not for Write Your Own, but Smart Copy needs them. Smart Copy writes from your brand documents, so Studio holds the Continue button on the Brief step and tells you to generate them first or write a brief instead. Brand docs are generated on the brand page, and generating them uses credits.
What does the Adapt to compliance rules switch do?
It rewrites copy and images to your compliance rules before Nask AI generates them. The switch stays off until the brand has a Copy Compliance or Image Compliance document, which you add on the brand page. Every ad is reviewed either way, so the switch changes what gets generated, not whether a review happens.
What happens to an ad I reject?
It stays out of publishing, and Studio asks why: pick at least one reason or write a note. Your picks are recorded for your own review. Regenerate rejected then re-renders the rejected image ads and leaves approved ads alone. Ads rejected only for their copy, and videos and uploads, are skipped. Edit the copy instead.
How do I know what a run will cost before I start it?
Click Generate on the Plan step and read the button. It turns into Confirm with an estimate in credits, plus a second figure for placements when the run will make extra formats. Nothing is charged until you click it again. The real charge is metered per AI call afterward, so the estimate can differ a little.
Brief your first ads with Nask AI
You now know where each decision lives: the mode, the copy direction, the docs, the sentence and the review. The fastest way to see it hold together is to watch one brief become ads. Book a demo and watch Nask AI Studio turn a brief into ads you approve one by one.
Book a demo and watch Nask AI Studio turn one brief into a Plan, ads you review one by one, and new campaigns that publish to Meta paused by default.
Book a demo